| View previous topic :: View next topic |
| Author |
Message |
B 67
Joined: 23 Sep 2008
Posts: 277
Location: Stratford, Australia
|
 Posted: Tue Nov 04, 2008 12:32 pm Post subject: T gauge layout in Oz Posted: Tue Nov 04, 2008 12:32 pm Post subject: T gauge layout in Oz |
 |
|
Okay, I'll try again with the layout and not get sidetracked by Australian T gauge models this time. 
Using the components of the T gauge Promotional Pack, I've started building a layout. I'm limited to the basic double-track oval, as there's no extra tracks in the pack, but that's okay. I can build a larger layout later.
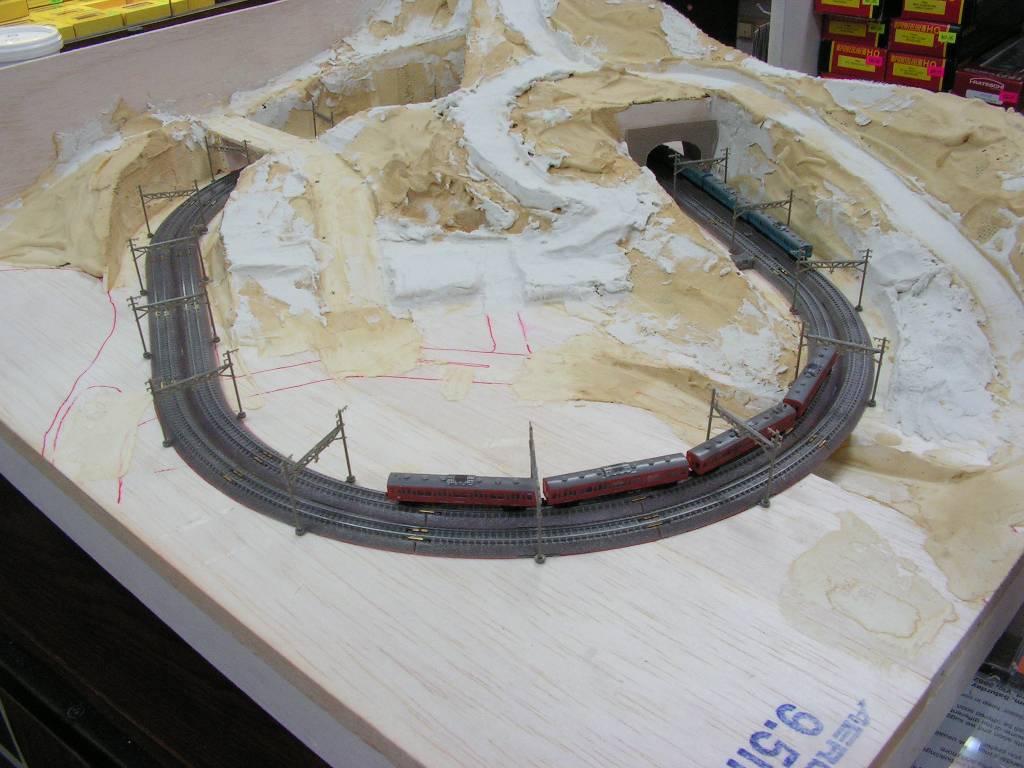
I've constructed the baseboard entirely of balsa. Convenient as I stock it in my shop and can be worked with a sharp knife. Well, it's not like I need anything stronger on such a tiny layout.
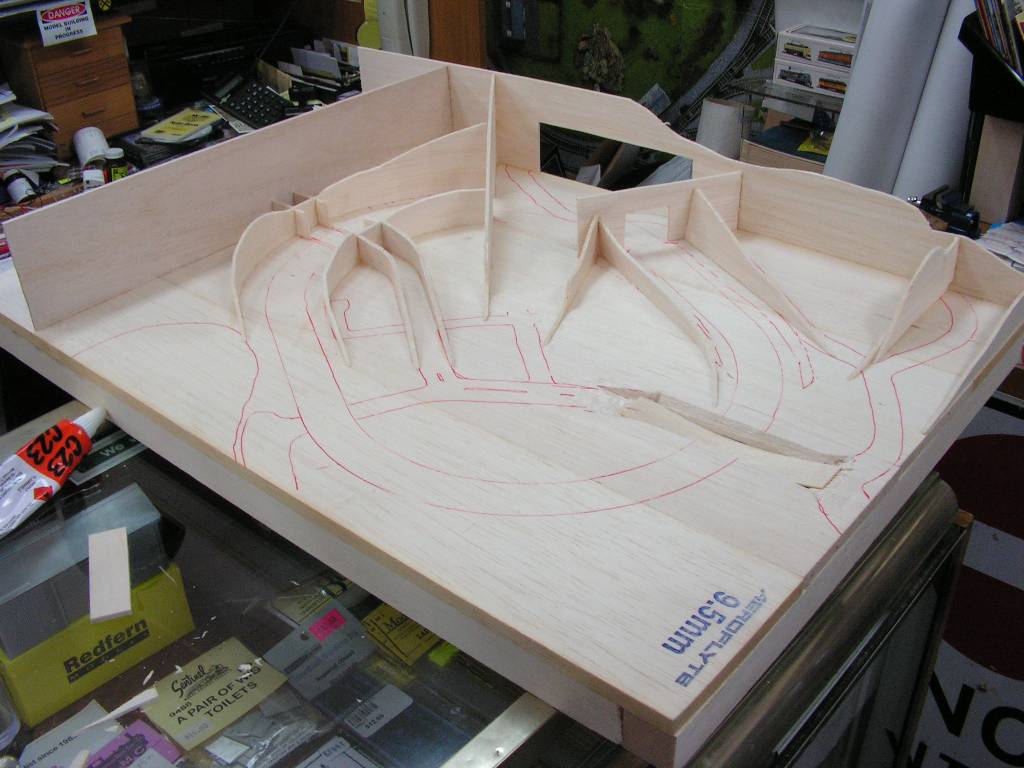
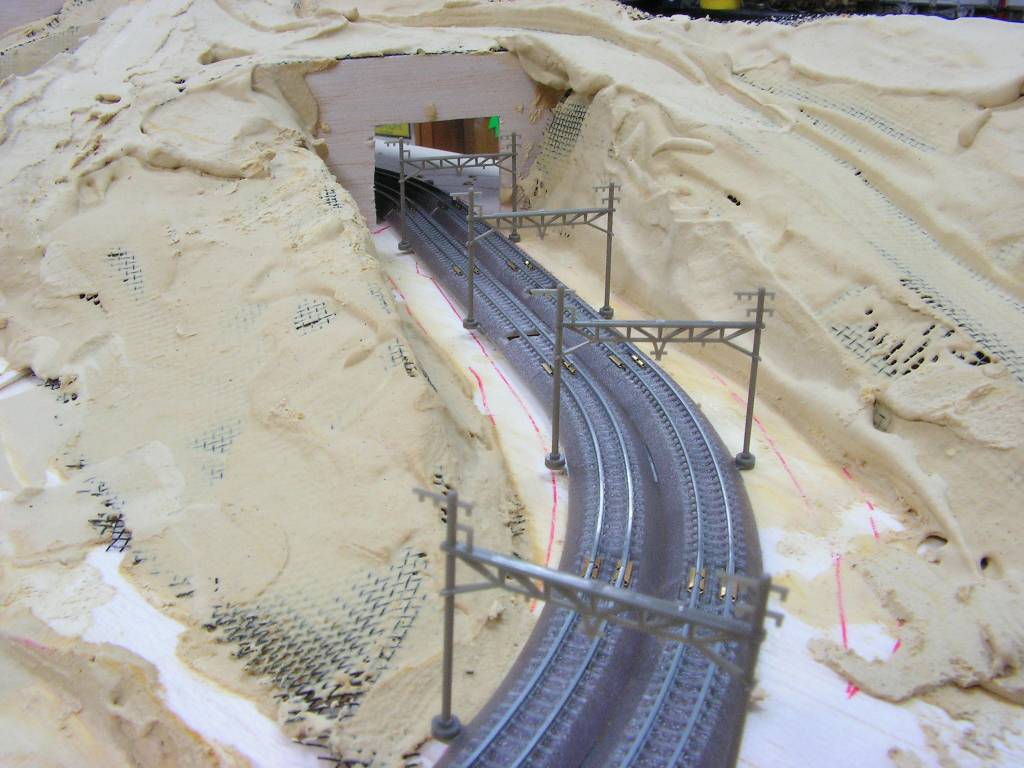
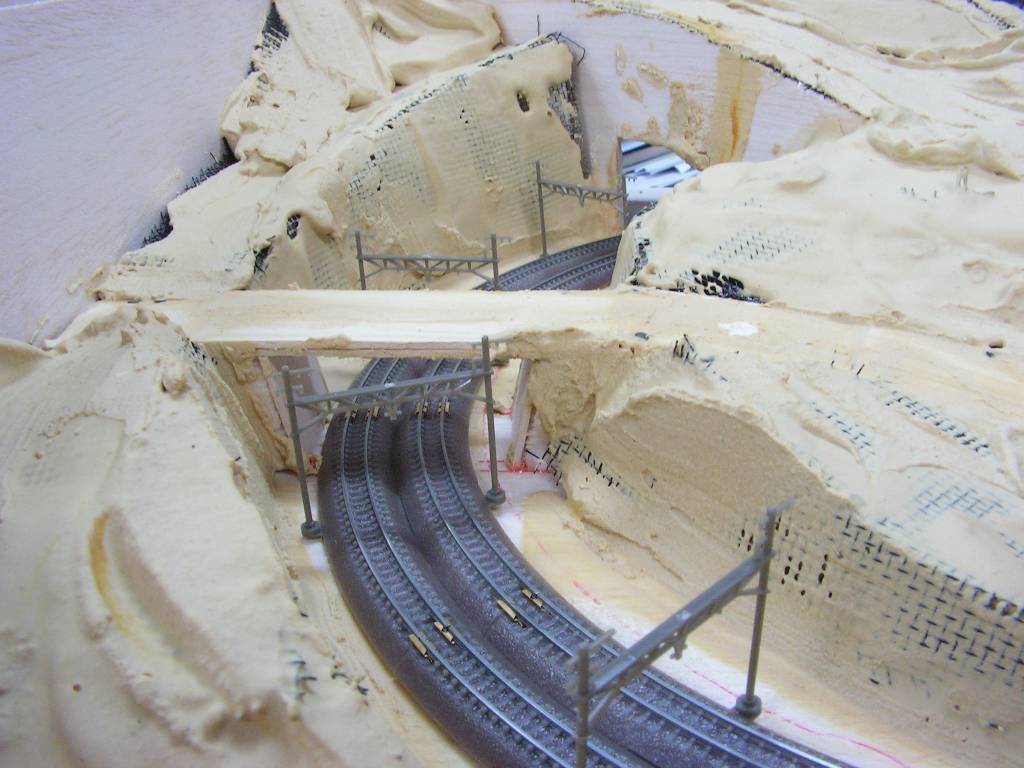
To break the oval, I've added a tunnel, plus a road bridge over the railway. Also another bridge under the line. There'll be a grade crossing as well. Sort of completes the set, so to speak. 
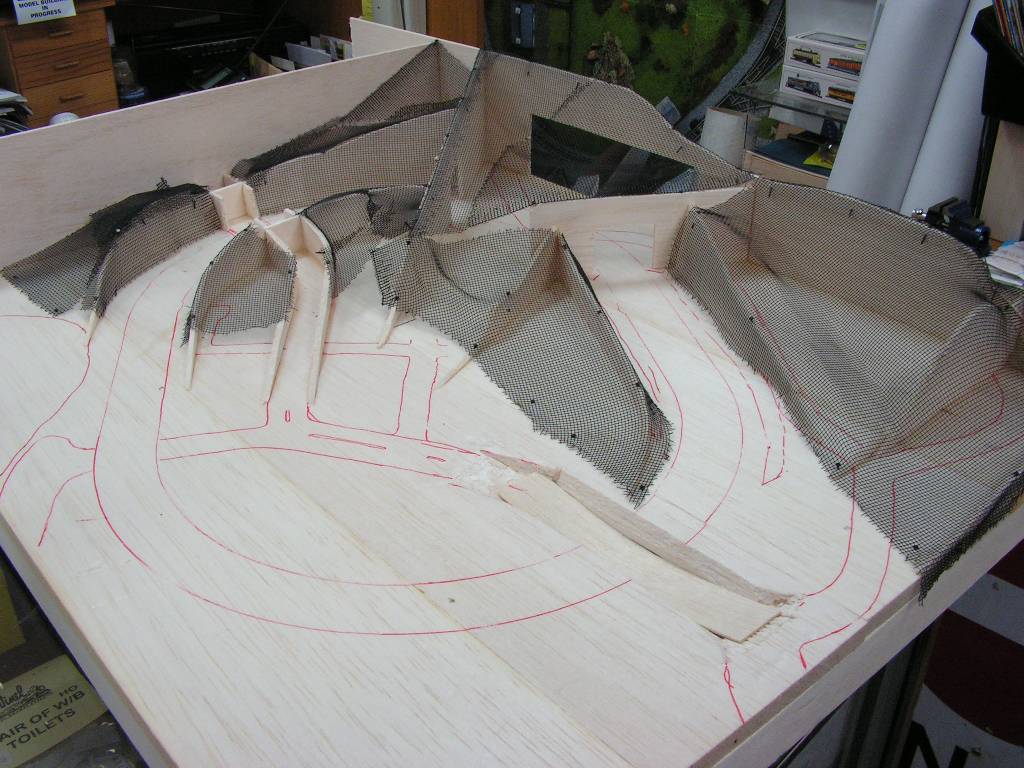
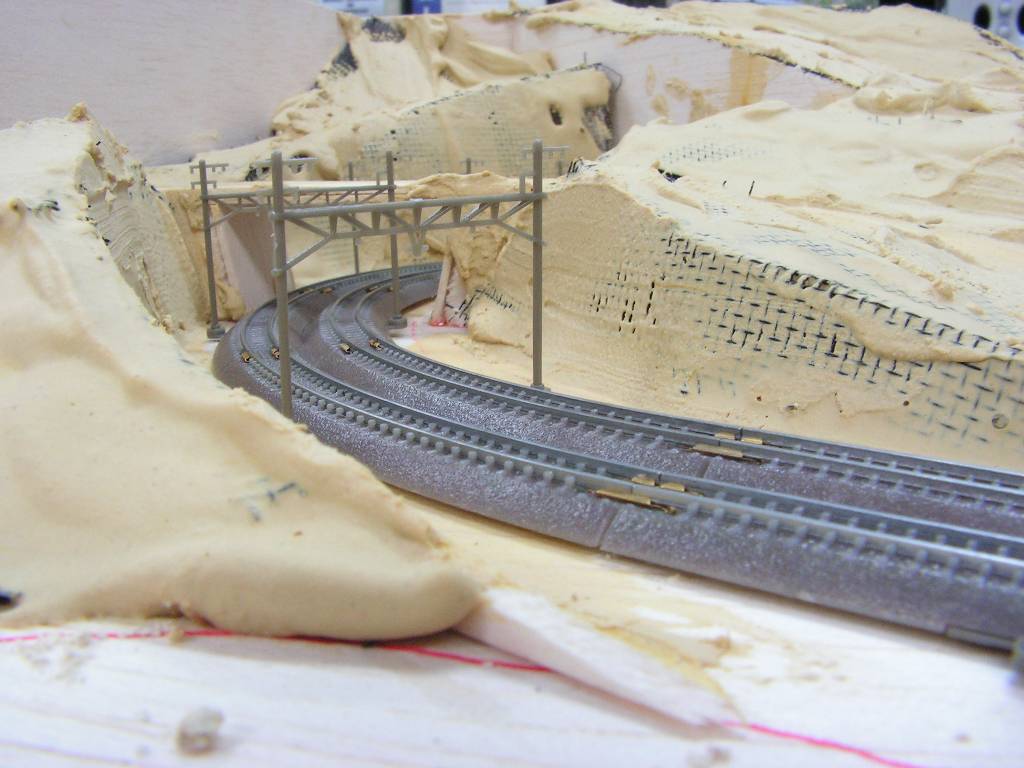
Next step was using fly screen wire over the balsa formers to get the basic terrain profile.
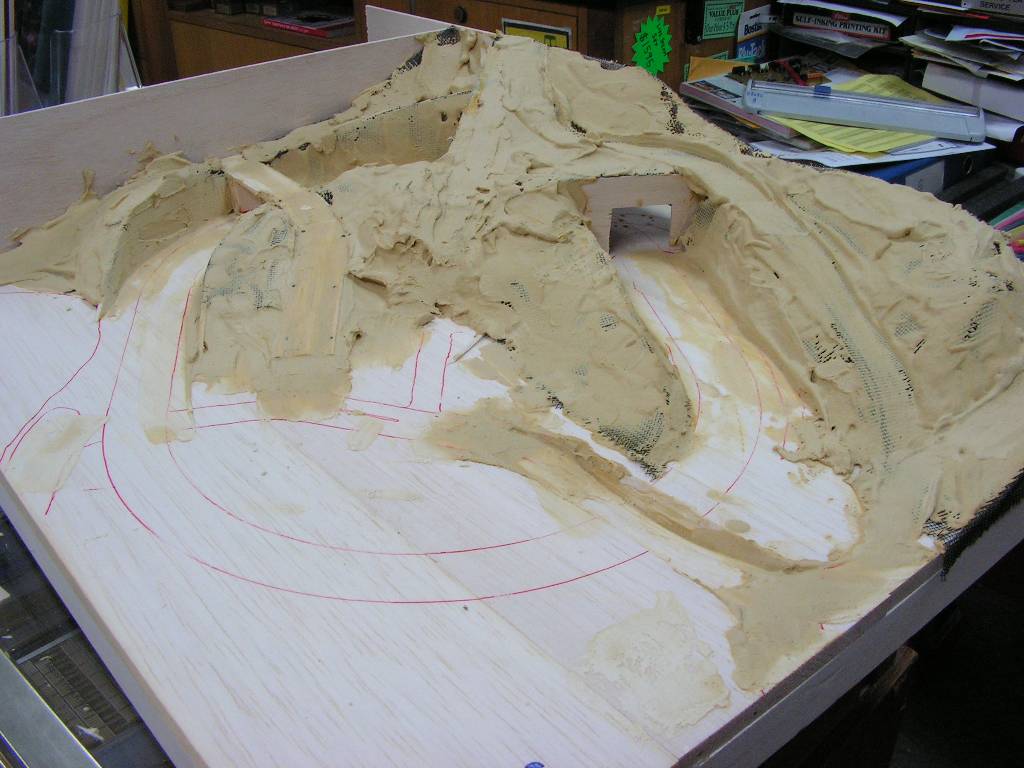
Then came slopping wood filler over the wire. First bit went well. But the second batch I mixed too thin, so had to wait for it to start setting before using it. I'll know in the morning if I got away with this. 
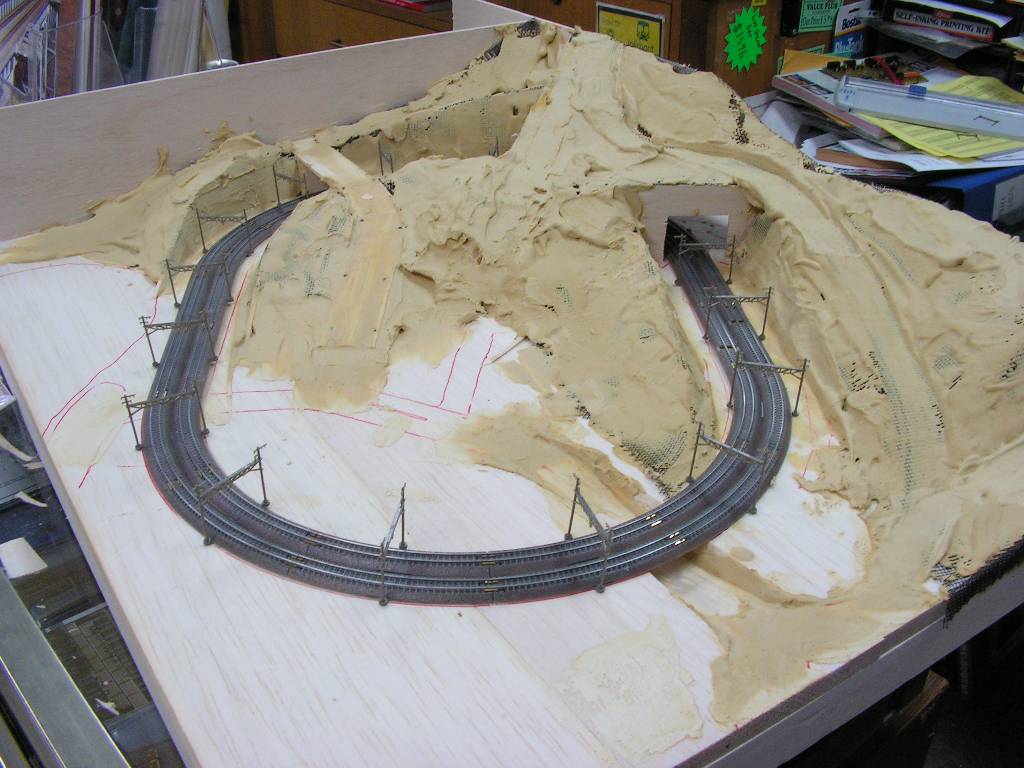
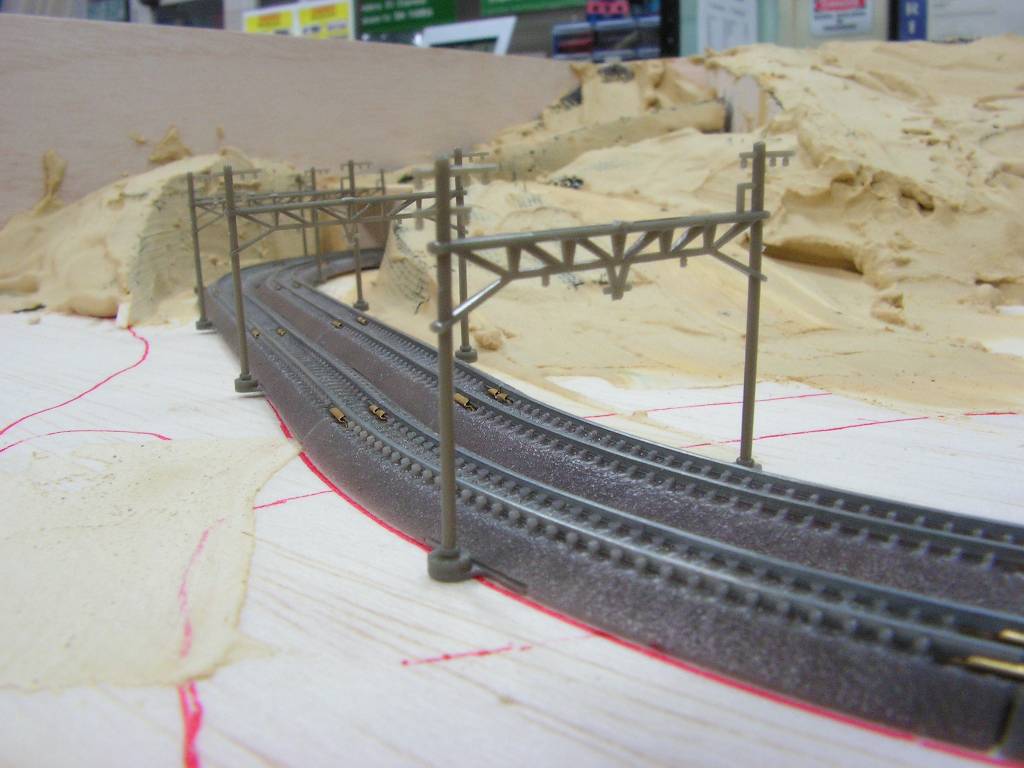
And here's the track in place to make everything a bit clearer.
I hope to finish off the terrain tomorrow, then the fun part begins. Scenery.
_________________
Darren,
Stratford,
Australia. |
|
| Back to top |
|
 |
trainspotter-usa

Joined: 04 Sep 2008
Posts: 315
Location: Minnesota
|
| Posted: Tue Nov 04, 2008 12:56 pm Post subject: |
|
|
Grand looking start:
Balsa Wood.
Never would have thought of that.
ian
_________________
I CAN see how cool this stuff is!!!
http://more-t-please.blogspot.com/ |
|
| Back to top |
|
|
David K Smith
Chief Cook and Bottle Washer

Joined: 03 Sep 2008
Posts: 435
Location: New Jersey, USA
|
|
| Back to top |
|
|
pray59
Joined: 05 Sep 2008
Posts: 88
Location: Fremont, CA
|
| Posted: Tue Nov 04, 2008 3:19 pm Post subject: |
|
|
Looking good! I can't wait for the next progress report! 
-Robert
_________________
-Robert Ray |
|
| Back to top |
|
|
zomer

Joined: 03 Nov 2008
Posts: 124
Location: Victoria, Australia
|
|
| Back to top |
|
|
B 67
Joined: 23 Sep 2008
Posts: 277
Location: Stratford, Australia
|
| Posted: Thu Nov 06, 2008 11:13 am Post subject: |
|
|
Some more layout progress. But not as much as hoped today. One of the hazards of trying to build a layout when you're running a hobby shop. Customers tend to come in, or phone and I have to stop work.
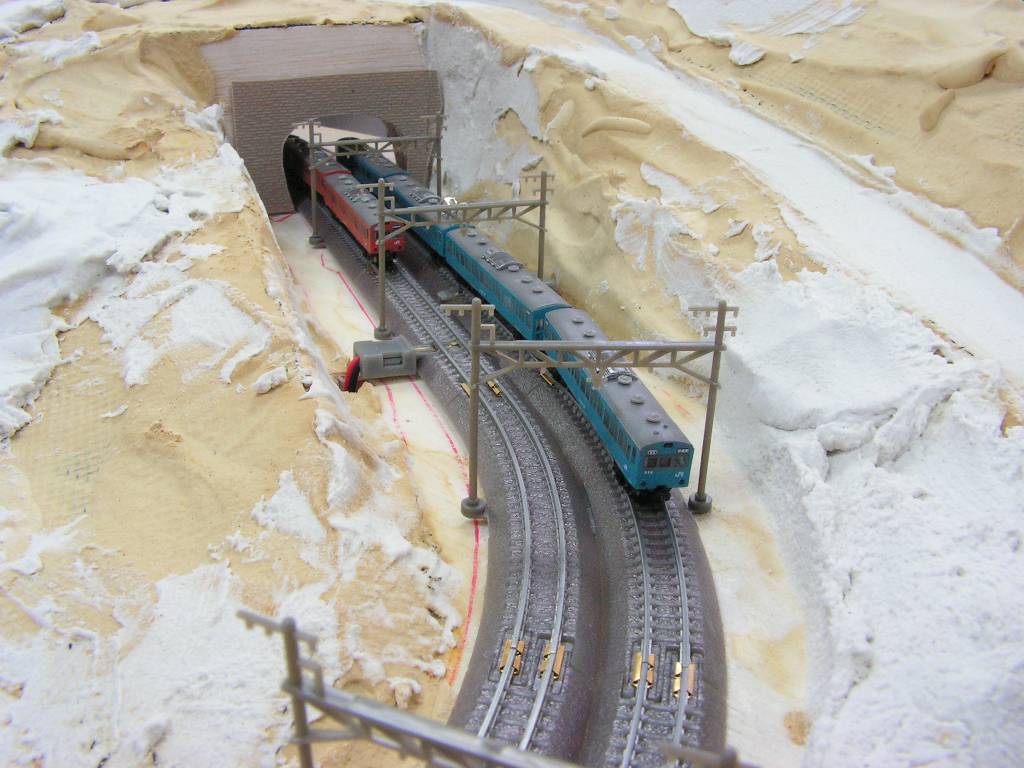
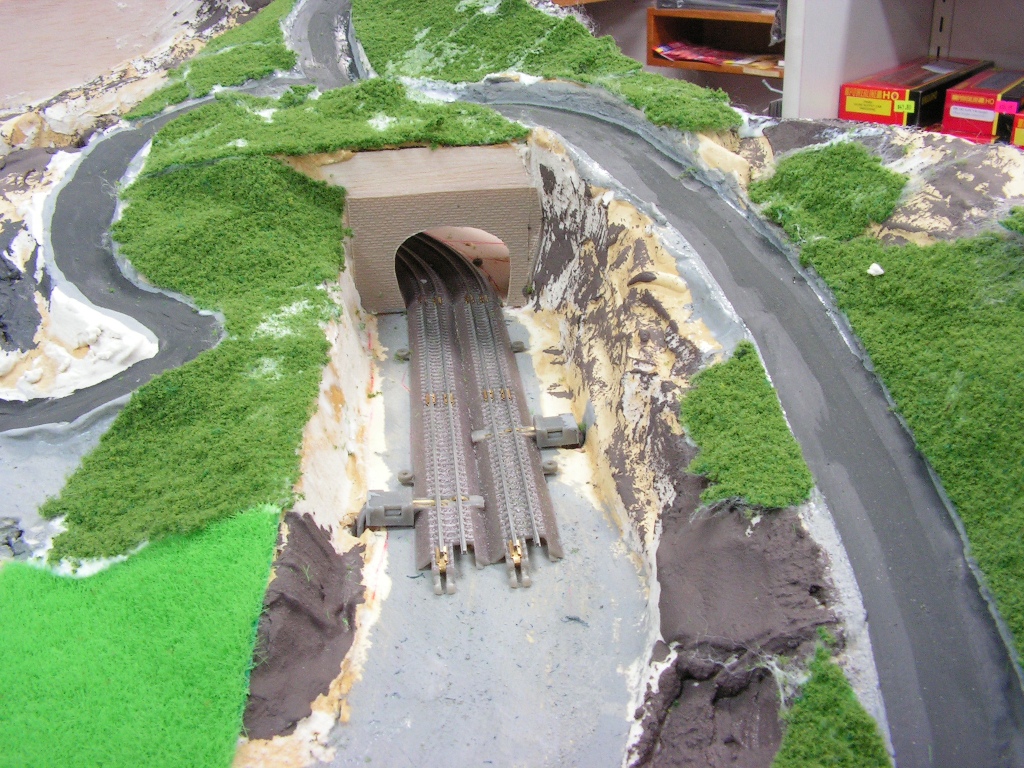
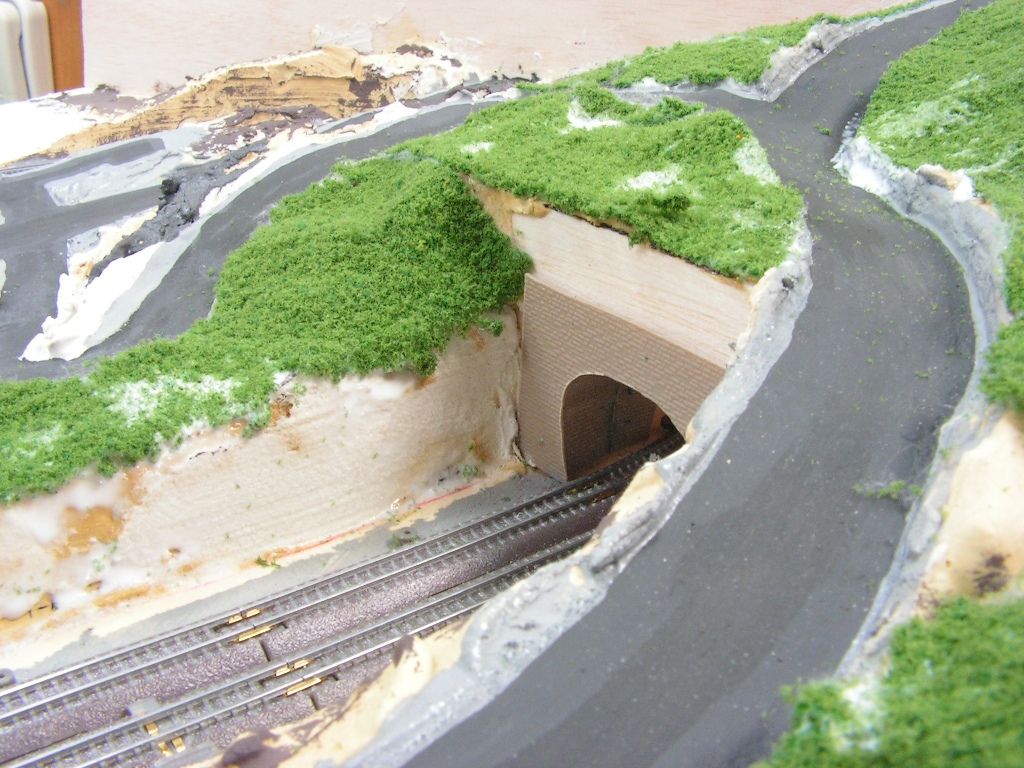
I got some tunnel portals made though. Finishing touches yet to be added though.
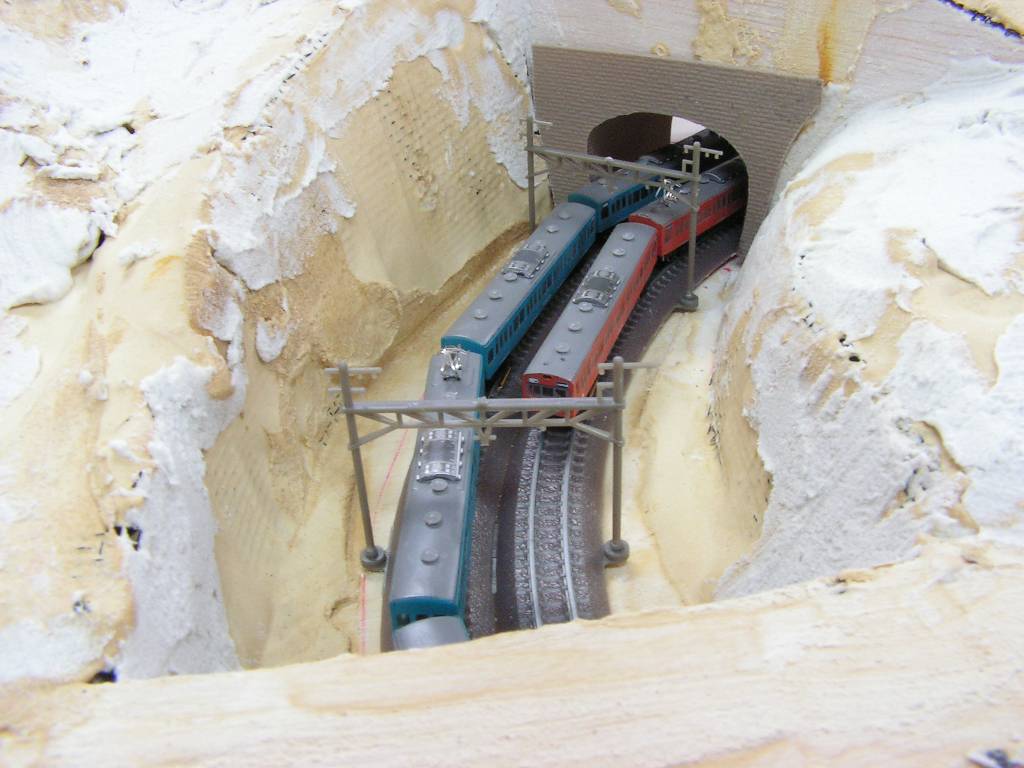
The tunnels were made from Slaters Plasticard (styrene sheets) - stone walling. The stone pattern is pretty tiny, and doesn't look overscale with T gauge. Mind you, I've yet to paint it. Hopefully it will still look okay.

The other portal. I've lined the first inch inside the portals. Once I make the cover for the access hole, the interior should be in darkness.
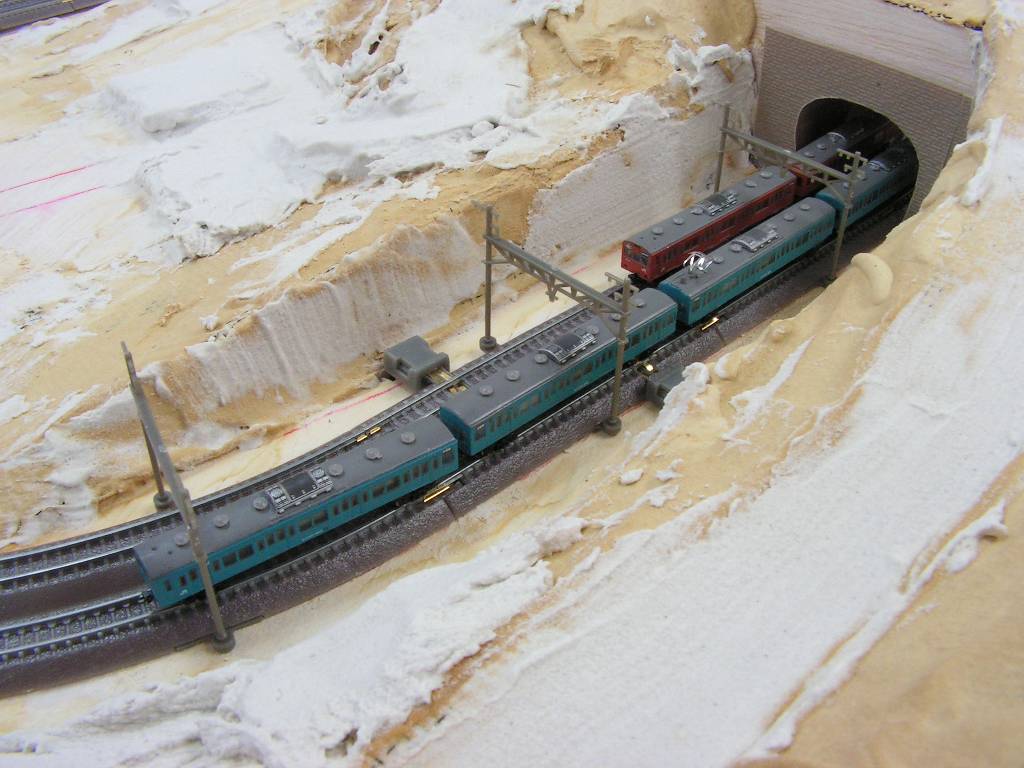


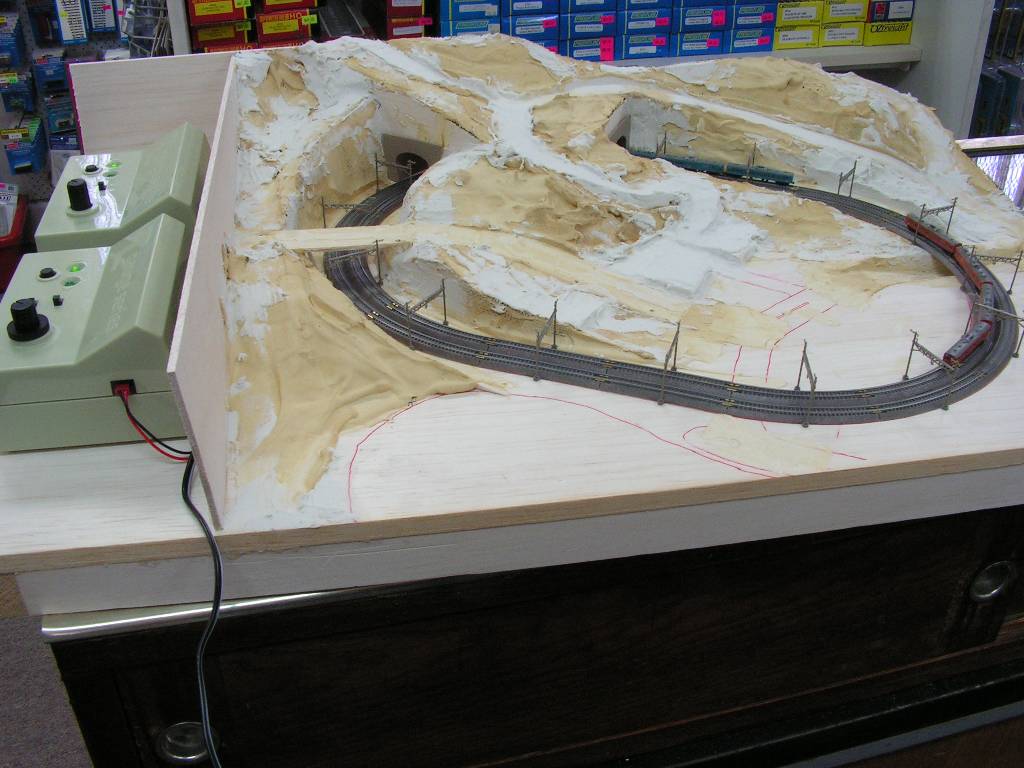
I used Velcro dots under the control boxes to keep them on the layout. Using batteries, this keeps the layout "self-contained" for portability. But easy to plug in an AC adaptor (or two) if I want.
The foreground will be a lake to display the Eishindo boats - when they are available again. Both sets of "Aquatic vehicles" and the motorcycles were unavailable when my promotional pack was sent.
This layout will be used to promote the Eishindo products and show what can be done with them - as they are supplied. No doubt later I shall build a larger layout where I will probably modify the standard items somewhat.
_________________
Darren,
Stratford,
Australia. |
|
| Back to top |
|
|
B 67
Joined: 23 Sep 2008
Posts: 277
Location: Stratford, Australia
|
|
| Back to top |
|
|
David K Smith
Chief Cook and Bottle Washer
Joined: 03 Sep 2008
Posts: 435
Location: New Jersey, USA
|
|
| Back to top |
|
|
B 67
Joined: 23 Sep 2008
Posts: 277
Location: Stratford, Australia
|
| Posted: Fri Nov 07, 2008 11:17 am Post subject: |
|
|
Only have fluorescent lights in the building. Oh, hang on. It's T gauge. I can just take the layout outside.
When I took these videos yesterday, it was a rather cloudy day, so not the best lighting inside. If it had been sunny, the flickering probably wouldn't be noticed. Also, the videos are only 15 frames per second too.
No progress whatsoever today. Just too busy.
_________________
Darren,
Stratford,
Australia. |
|
| Back to top |
|
|
pray59
Joined: 05 Sep 2008
Posts: 88
Location: Fremont, CA
|
| Posted: Fri Nov 07, 2008 2:49 pm Post subject: |
|
|
Nice videos Darren, your layout is coming along fine! it looks like your trains runn very good too!
_________________
-Robert Ray |
|
| Back to top |
|
|
spyder62
Joined: 27 Oct 2008
Posts: 8
|
| Posted: Fri Nov 07, 2008 4:19 pm Post subject: |
|
|
All I can say is WOW great job and keep posting
rich
_________________
rich
rslaserkits |
|
| Back to top |
|
|
zomer
Joined: 03 Nov 2008
Posts: 124
Location: Victoria, Australia
|
|
| Back to top |
|
|
B 67
Joined: 23 Sep 2008
Posts: 277
Location: Stratford, Australia
|
| Posted: Tue Nov 11, 2008 12:54 pm Post subject: |
|
|
Pressure? Progress? Well, a little bit today. I do have to try to retain some semblance of a life outside model trains - well, sometimes.
No pics taken yet, should get to do that tomorrow. I've painted the roads and darkened the light sections of 'earth' in preparation for ground cover.
I expect to have some progress pics tomorrow.
_________________
Darren,
Stratford,
Australia. |
|
| Back to top |
|
|
B 67
Joined: 23 Sep 2008
Posts: 277
Location: Stratford, Australia
|
| Posted: Thu Nov 13, 2008 12:02 pm Post subject: |
|
|
Well, I TOOK the photos yesterday. But didn't get to upload them. More progress today though.
I got a bit carried away and used the Eishindo tool set to drill holes and place trees, street lights, signs and so on. Just to get an idea of how they'd look of course. But took them all out again later so I could start on the ground cover.
I also placed the 8 Eishindo buildings on the layout. Spaced out a bit, they barely filled a 10 x 10cm space. Definitely need more. Eishindo are planning more buildings, so I'll have the space for them when they arrive.
Anyway, it be photo time.
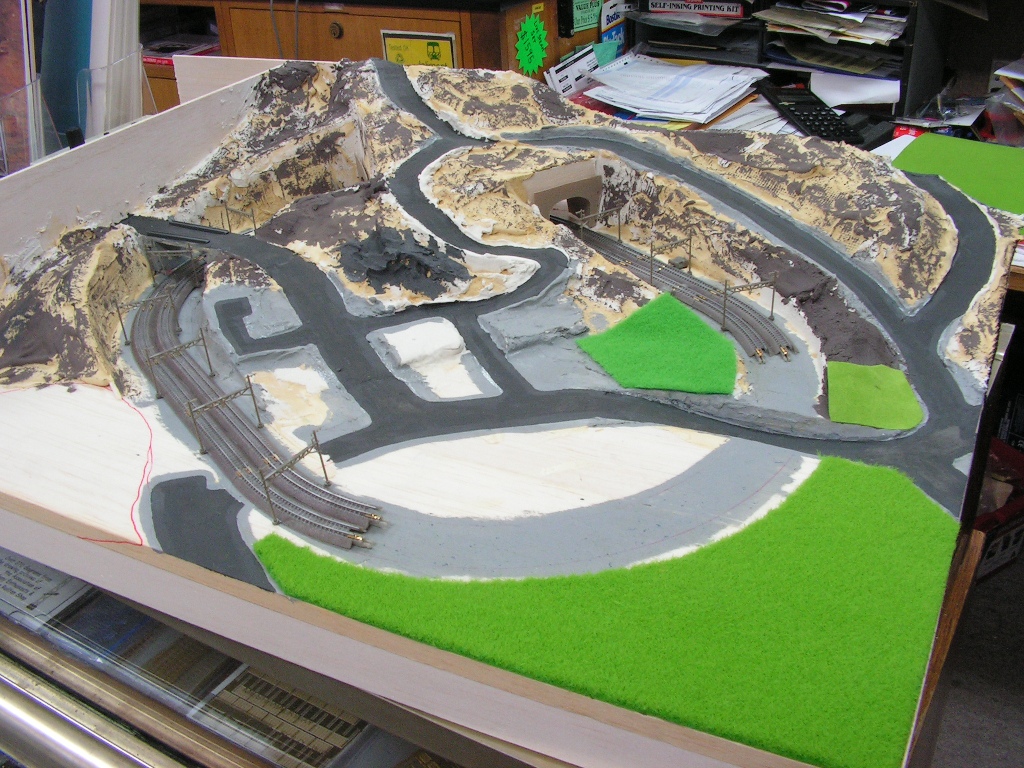
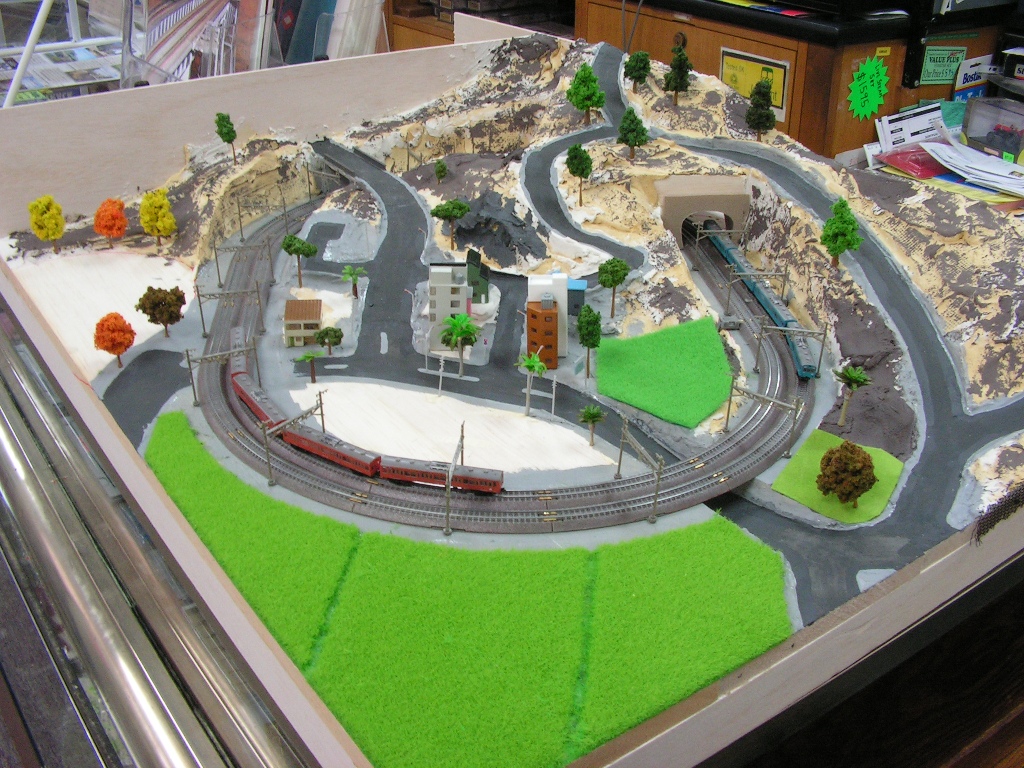
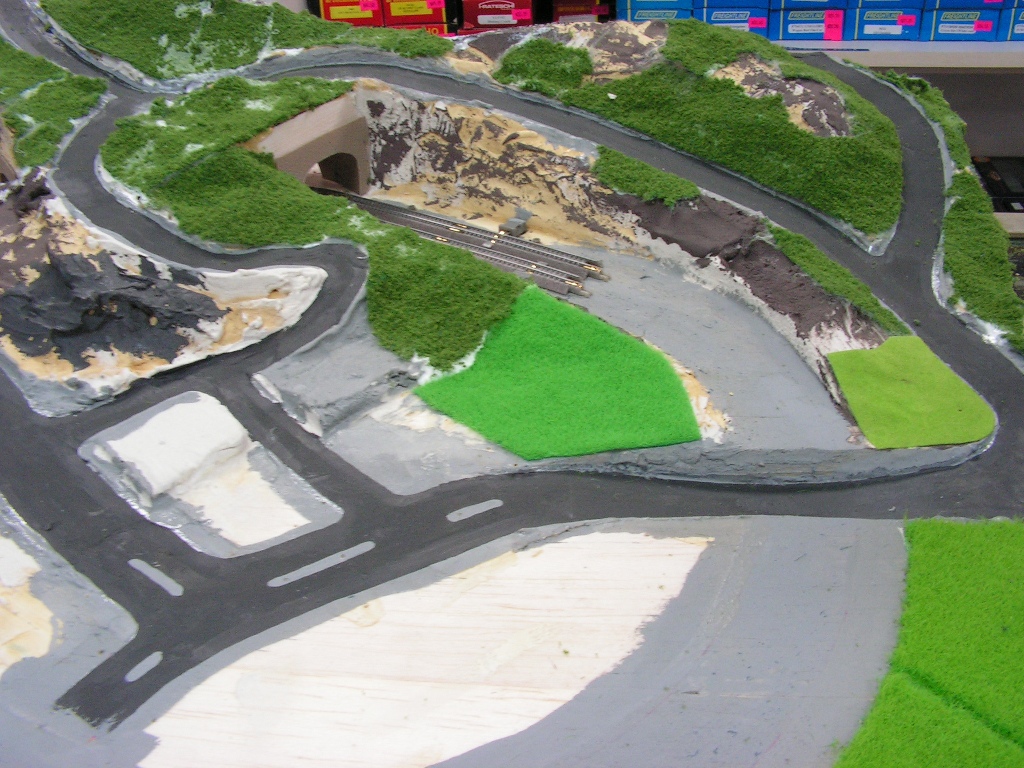
The beginnings of ground cover - using the self-adhesive Eishindo grass mats. These come in packs of 4 sheets, and all 4 are different heights and colours. Great for flat areas, not so good on hills.

Temporarily placed structures and street furniture. I just couldn't help myself.

The structure collection doesn't fill up much space. I could've spread them out a bit, but I didn't think that would look terribly Japanese.
The grass mats didn't adhere well to the rough ground here - not surprising really. I had intended to use Woodland Scenics turf or similar scatter material, so had painted some areas so the very light base in some parts would not show through. I've since smoothed the surface and re-fastened the matting.
And now, moving on to today's activities...
Added trees - since removed. Just trying to visualise what it's going to look like. Needs many more trees. I'm probably going to use the smaller Woodland Scenics trees to fill it out until more Eishindo ones arrive.

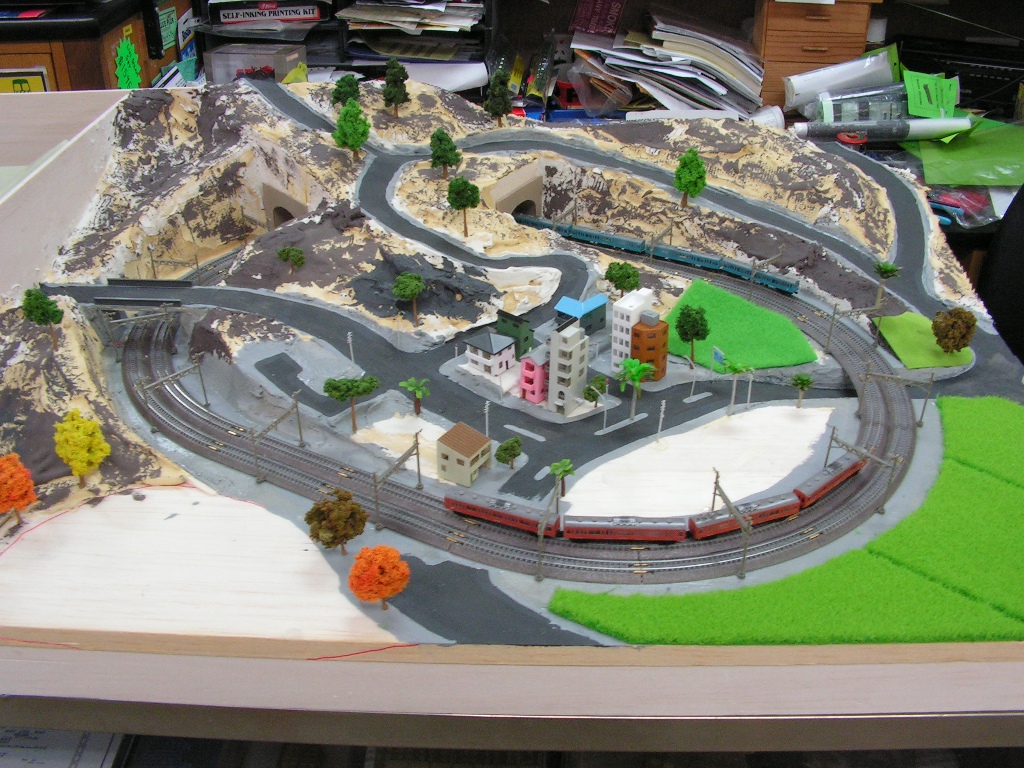
An overall view of the layout earlier today. There will be a level crossing in the foreground. Will add that once the track is stuck down. It's still loose so that I can remove it when doing scenery work. Saves getting glue and sanded terrain all over it.
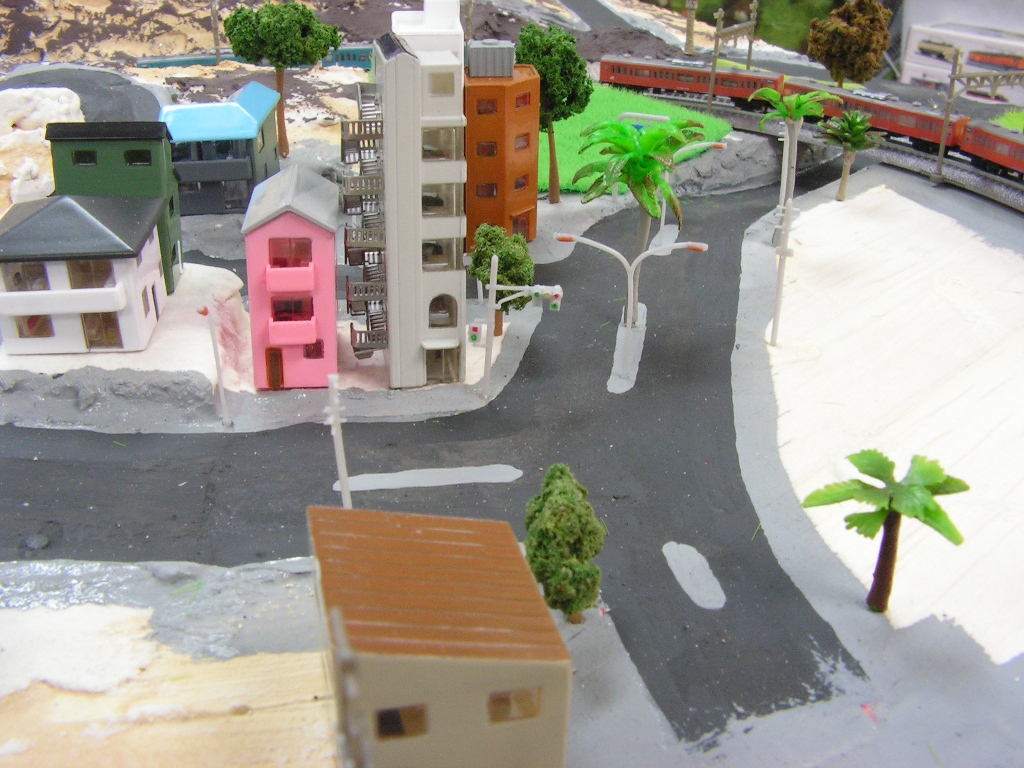
The single traffic signal is a bit lonely here. I shall have to ask what they were thinking by putting a single traffic light in the pack. Although I can probably guess.
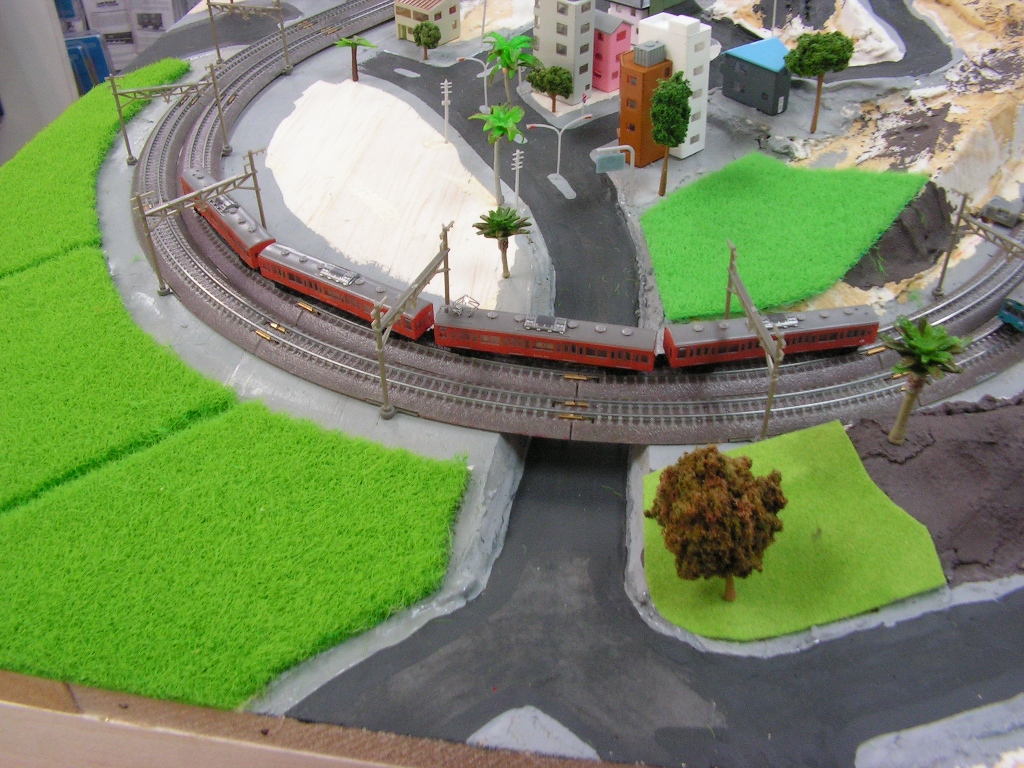
Yes, I will be building a bridge to go under this track. Just in case anybody was wondering.
After taking those photos, I removed the trees, street furniture, buildings and some track to begin the ground cover on the hills.
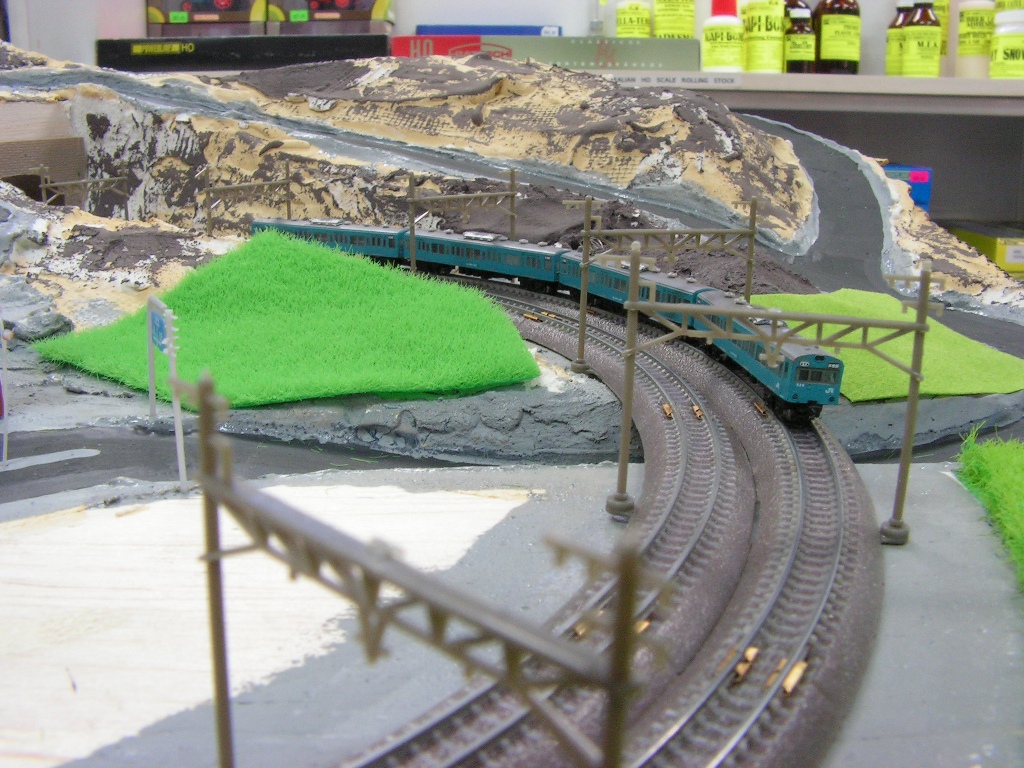
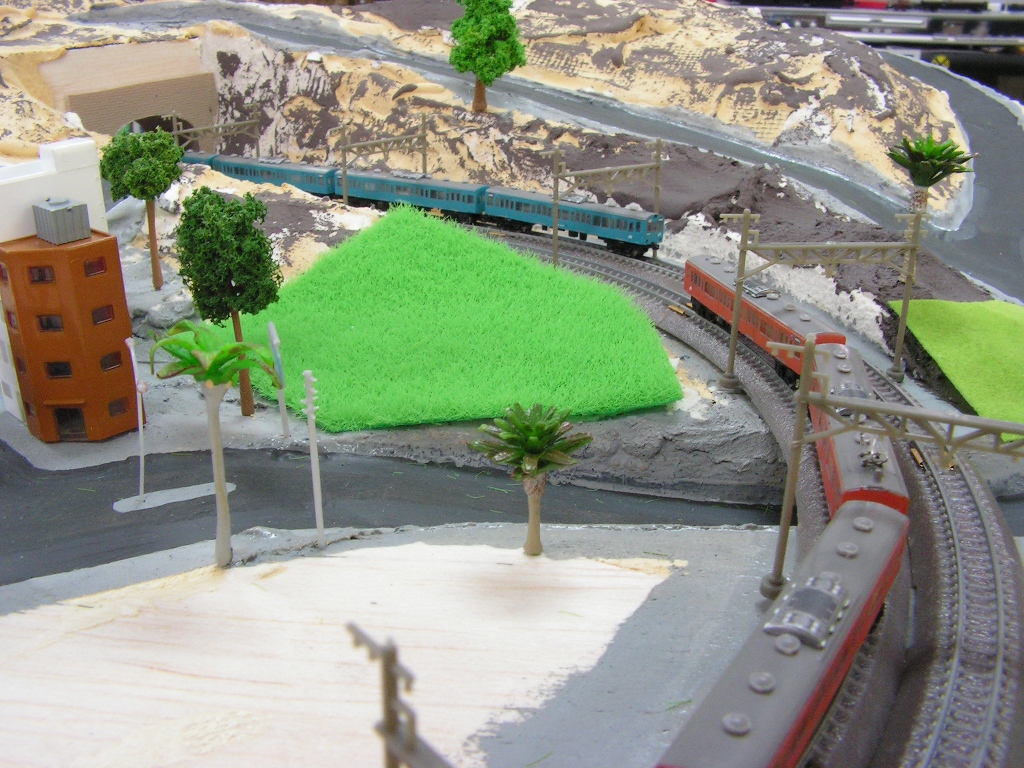
As stated earlier, I had intended to use scatter in the usual way, but, having a hobby shop at my disposal, I decided to use a product that I've begun to stock - Busch foliage - or Flora Fleece. It's similar to the Woodland Scenics foliage sheets, but I found it very well suited to T scale ground cover. I tore and cut it to shape and glued using undiluted PVA. The PVA is still wet in these photos.
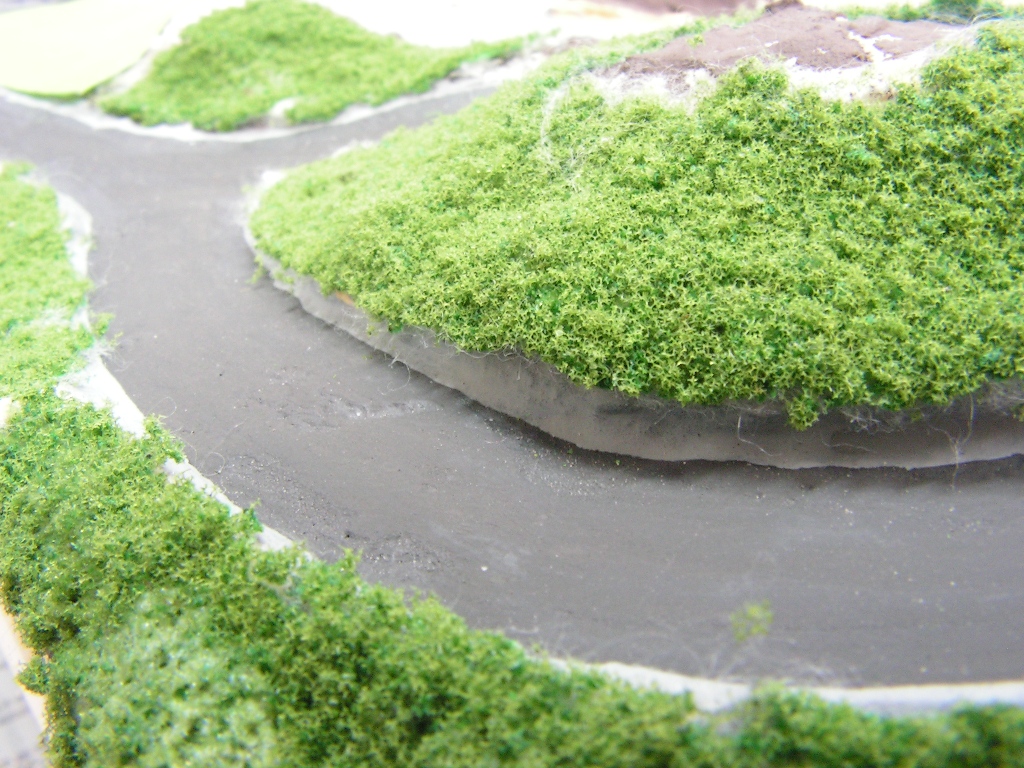
Looks rather good, if I say so myself.
And that's it for now. I probably won't have time to post more photos until Sunday at the earliest.
And a couple of videos...
Close-up of trains
The layout as it was earlier today - before working on the Busch ground cover
_________________
Darren,
Stratford,
Australia. |
|
| Back to top |
|
|
David K Smith
Chief Cook and Bottle Washer
Joined: 03 Sep 2008
Posts: 435
Location: New Jersey, USA
|
| Posted: Thu Nov 13, 2008 12:41 pm Post subject: |
|
|
Darren--
Looking really good. It's great getting green down, isn't it?
I just started working on roads. Did you find it kind of strange making roads only 1/2-inch wide?
_________________
David
http://www.t-gauge.net/
http://1-450.blogspot.com/ |
|
| Back to top |
|
|
|